Add images to your portfolio
As they say, a picture’s worth 1000 words
Effective scientific communication is often built on visual evidence, so it’s important to be able to include photographs, figures, and maps into your webpages.

Images make your website easier to understand
The following code will display an image from the internet using Markdown:
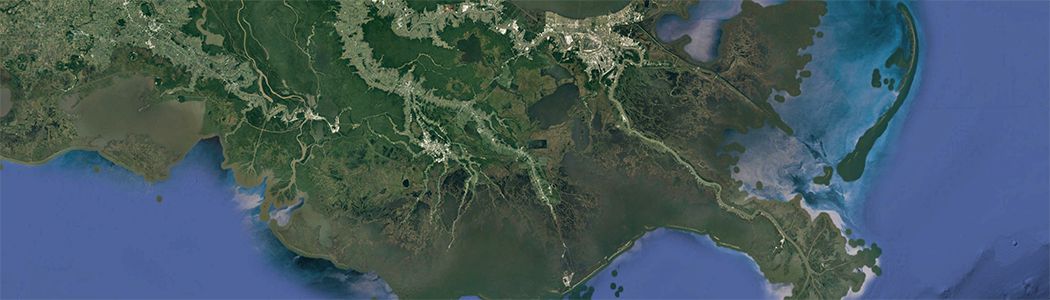
Image source: image of the Mississippi Delta from the Jet Propulsion Laboratory DeltaX project
Always make sure you have permission to use images, and give credit to your image sources. Most images are fair to use for education (teaching, research, and study), as long as you give credit to your source. If you later on decide to use your portfolio to make money (for example, if you use it as marketing materials), then you should reconsider what images you are using.
Learn more about fair use from the CU Library Fair Use page.
Adding your own images
Including images from the web is the easiest way to add images to your site, but you will probably want to include your own images! There are three common ways that you can add images you have taken or created to your website:
- Uploading an image to your portfolio repository on GitHub
- Uploading an image elsewhere and then linking to it
- Generate an image with code and render it into your website
We’ll try out the first two options in this lesson. But first, you need to understand the difference between absolute and relative URLs on the web.
Absolute and relative links
On your website, you can link to files on the web, or you can link to local files.
Absolute URLs are on the web, and so they begin with something like http:// or https://. When you are using an absolute link, you don’t need to worry about your file structure – for example, what folder your Markdown file is in. If you move things around in your project the link will still work.
Links on the internet aren’t forever. If you are using an absolute link, you should check on it occasionally to make sure it’s still there. You can also select image sources that are more reliable long term, or even an image with a permanent link or Digital Object Identifier (DOI).
Relative links are to files that are local, or in the same location as your website. Keep in mind that what is local can change if you keep multiple copies of your repository, such as one on GitHub and one on your computer. Relative links, because they will change depending on the file and directory structure of your website. If you are working on your own computer, you can link to a file that isn’t in your repository, and then it won’t show up when you deploy your site.
Directory is another word for a folder on your computer – you can organize files by putting them in directories.
There’s a couple of special characters when using relative links. Suppose you have a Markdown file in a pages directory, and an image you want to display in an img folder:
<username>.github.io/
├── README.md
├── pages/
│   └── index.md
└── img/
└── cool_satellite_image.jpegIn the text diagram to the left, indentation and lines are being used to show which files are inside which folders – for example the index.md file is indented under the pages directory and connected by a line, indicating that index.md is inside pages.
When you are working in index.md, you are in the pages directory. If you want to go up a directory to <username>.github.io from pages, you can use ... For example, ../img/cool_satellite_image.jpeg.
You can also make website paths starting from the root directory of the site, in this case <username>.github.io, by starting the path with a slash character, /:
The equivalent link to ../img/cool_satellite_image.jpeg would be /img/cool_satellite_image.jpeg.
Upload an image to GitHub
STEP 1: Create an empty image directory on GitHub
It’s important to keep your files organized in a project like a website. Before uploading any images, you should make a place to put them. By convention, images in most websites are kept in the img directory, but you can name it whatever you want.
git, the system used by GitHub to keep track of changes to files, doesn’t keep a record of directories without any files in them, and as of now you can’t upload an image to a directory that doesn’t exist yet. This puts us in a bit of a pickle! Fortunately, there’s a common solution – we’ll create an empty text file named .keep in the new directory.
You could name your empty placeholder file anything you want. However, there are two good reasons to use .keep as your filename. First, files that start with a dot (.) are hidden in unix-based operating systems like linux and MacOS, which helps avoid clutter when you are looking at your files. Second, adhering to the convention means that anyone else looking at your repository will know what the .keep file is doing there.
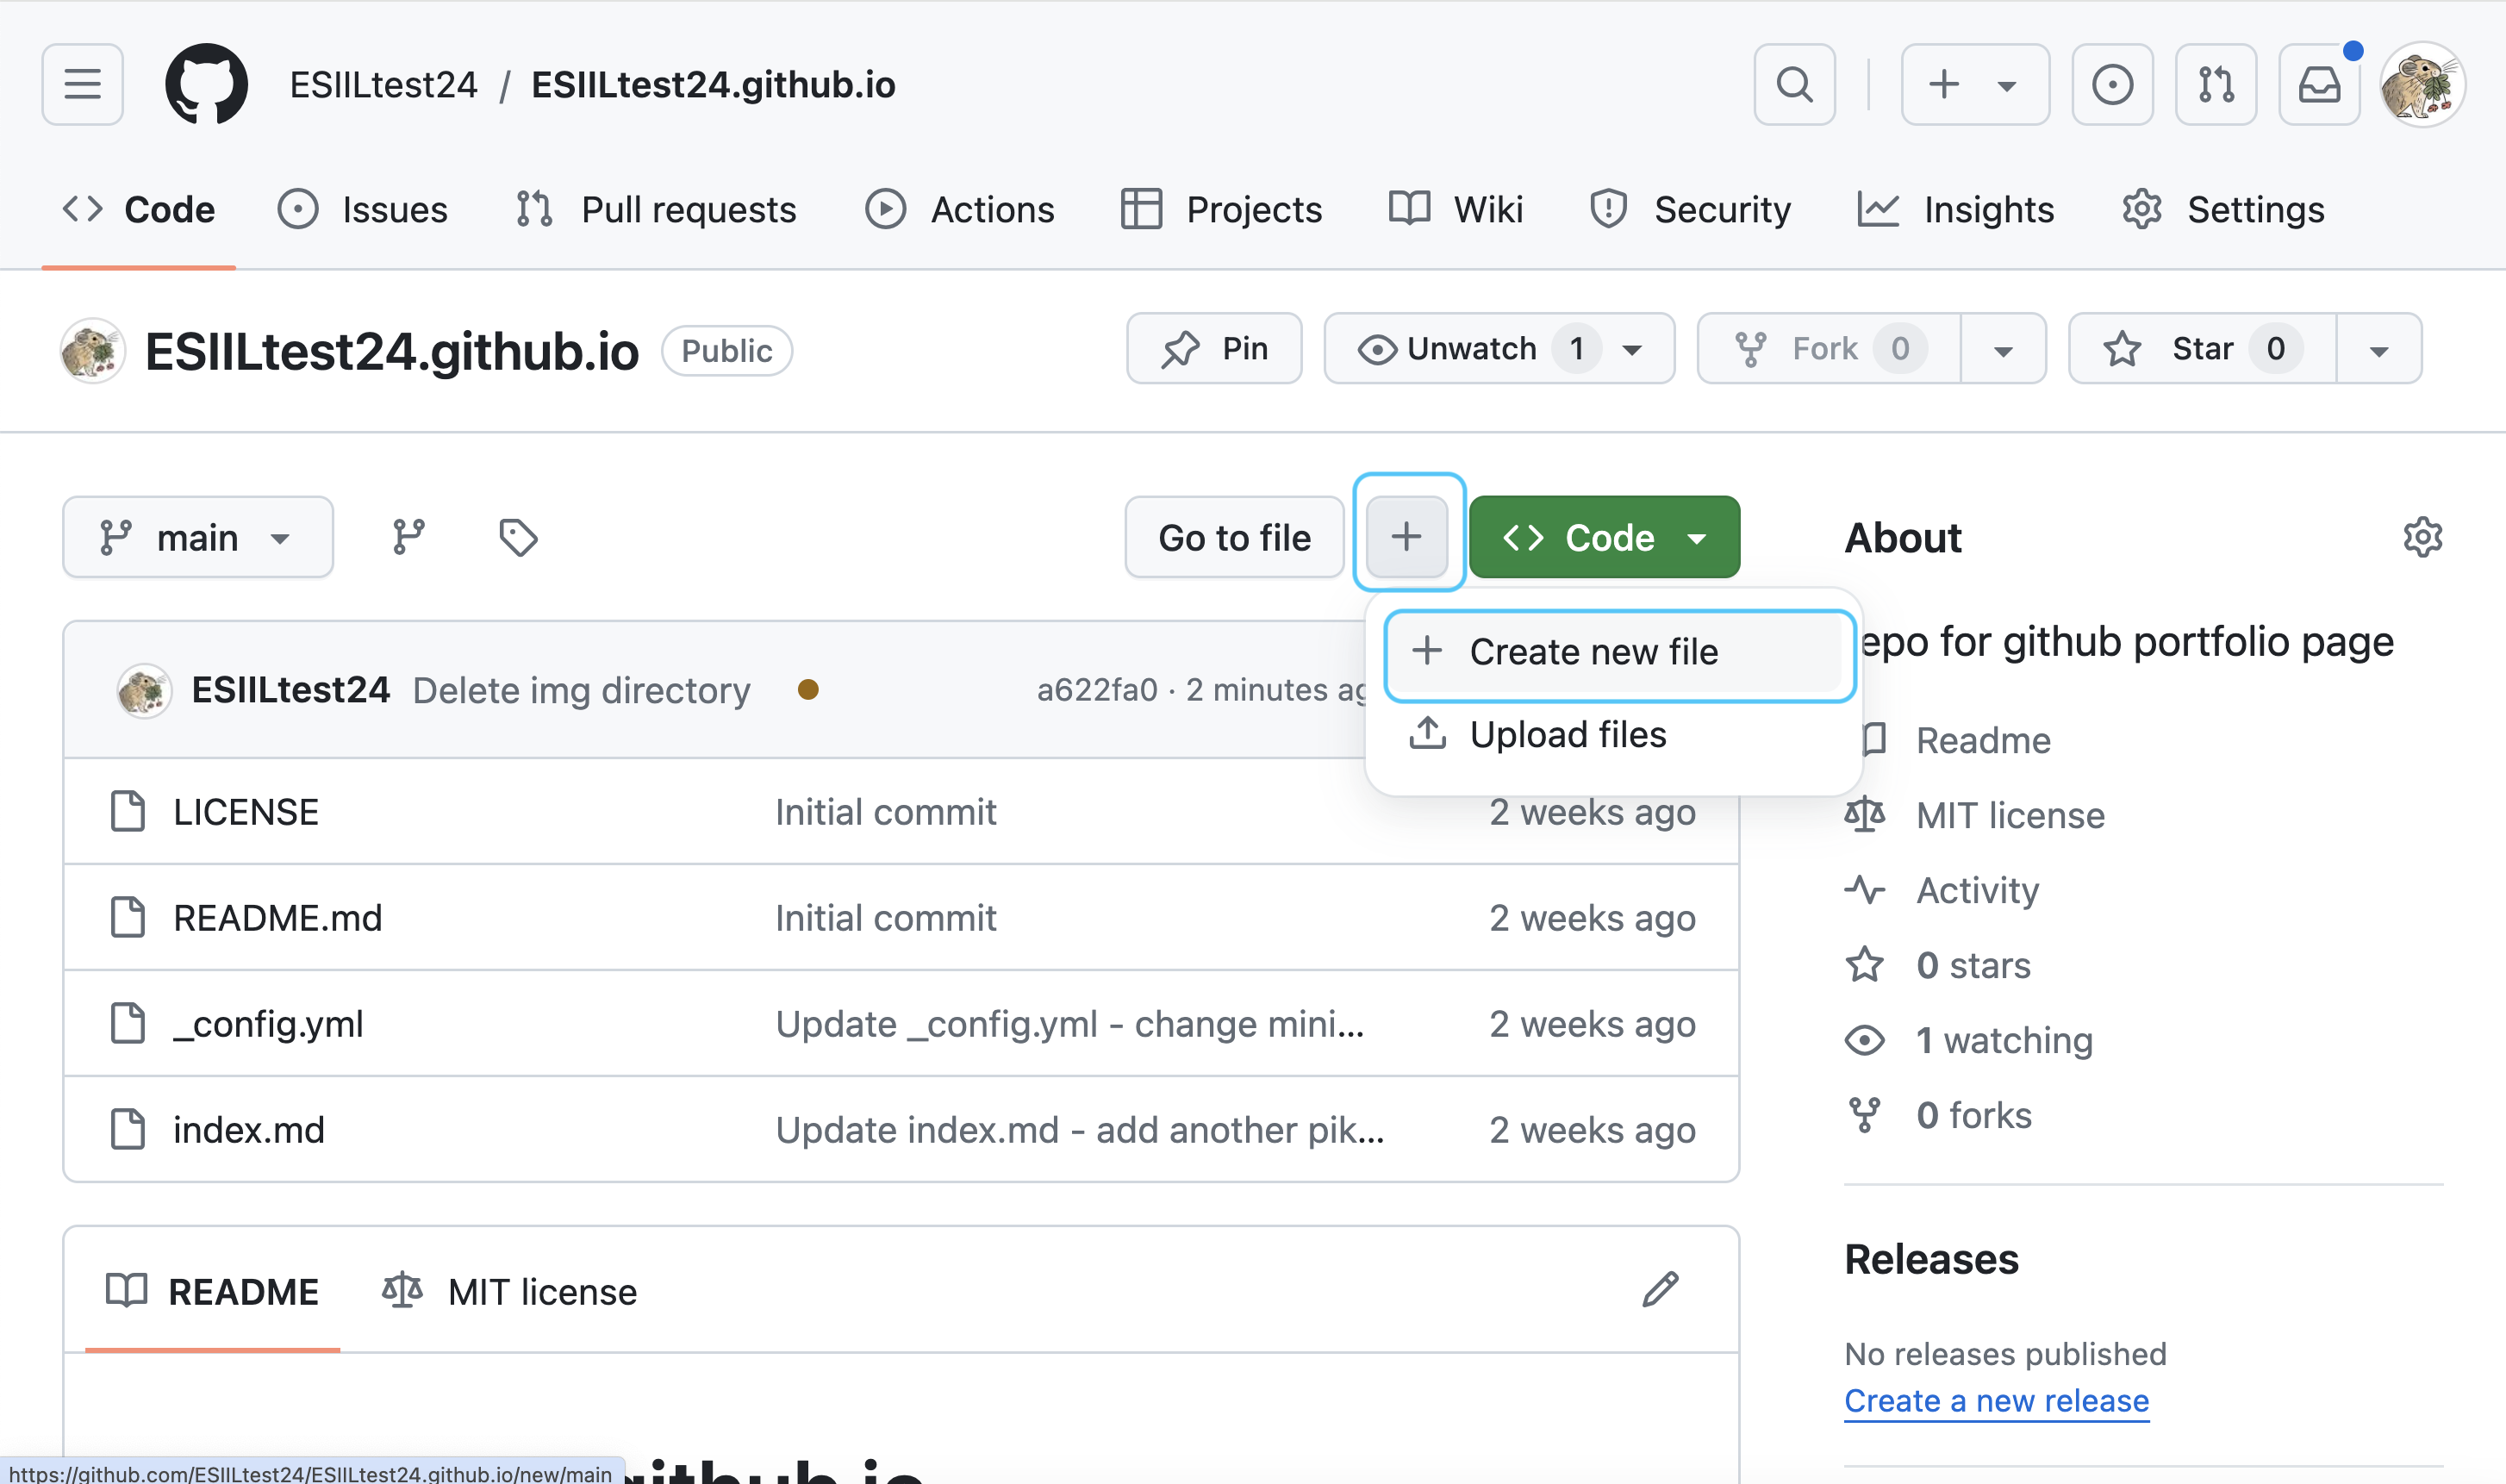
To create a img/.keep file, go to the main page of your website repository on GitHub and click the Code tab. Then, find the + menu button on the upper right and select Add a file from the dropdown:
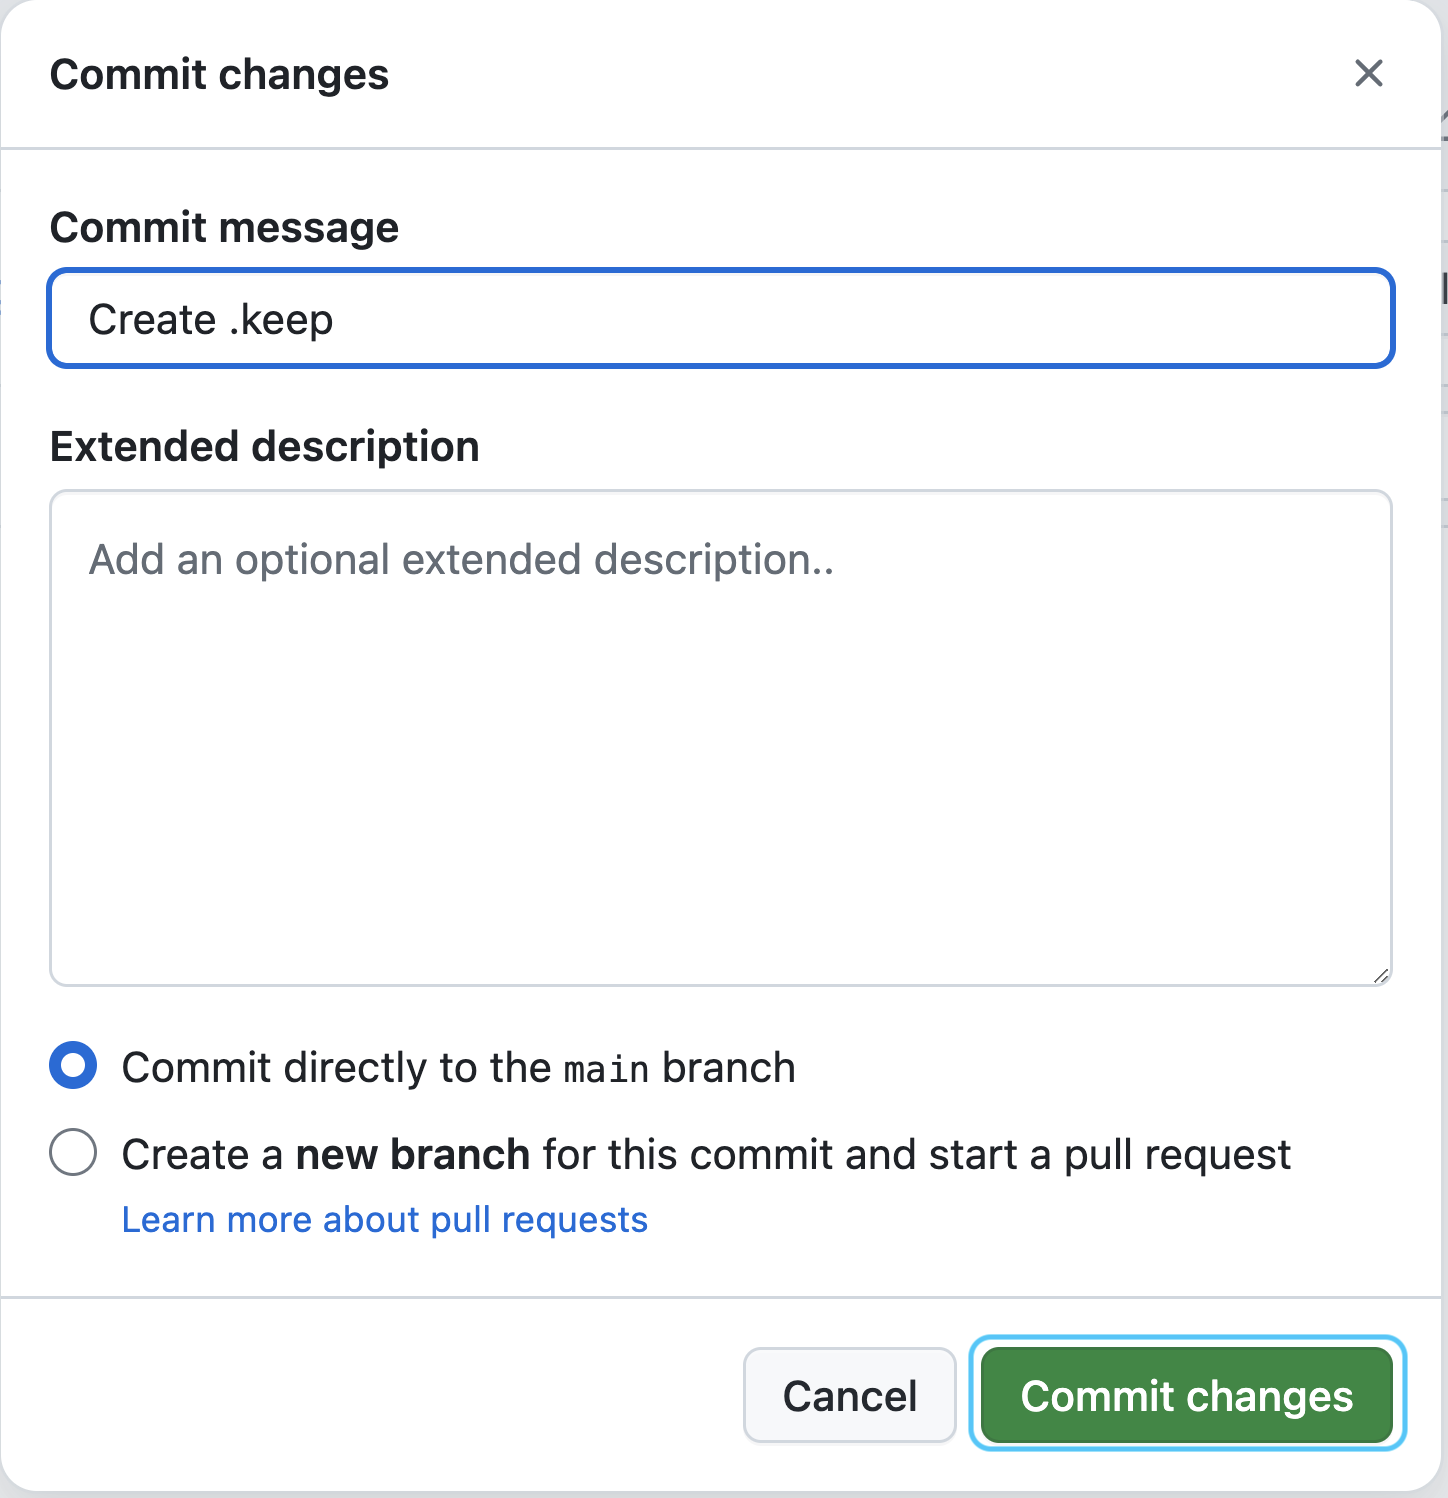
Type `img/.keep into the name field and then commit your changes:
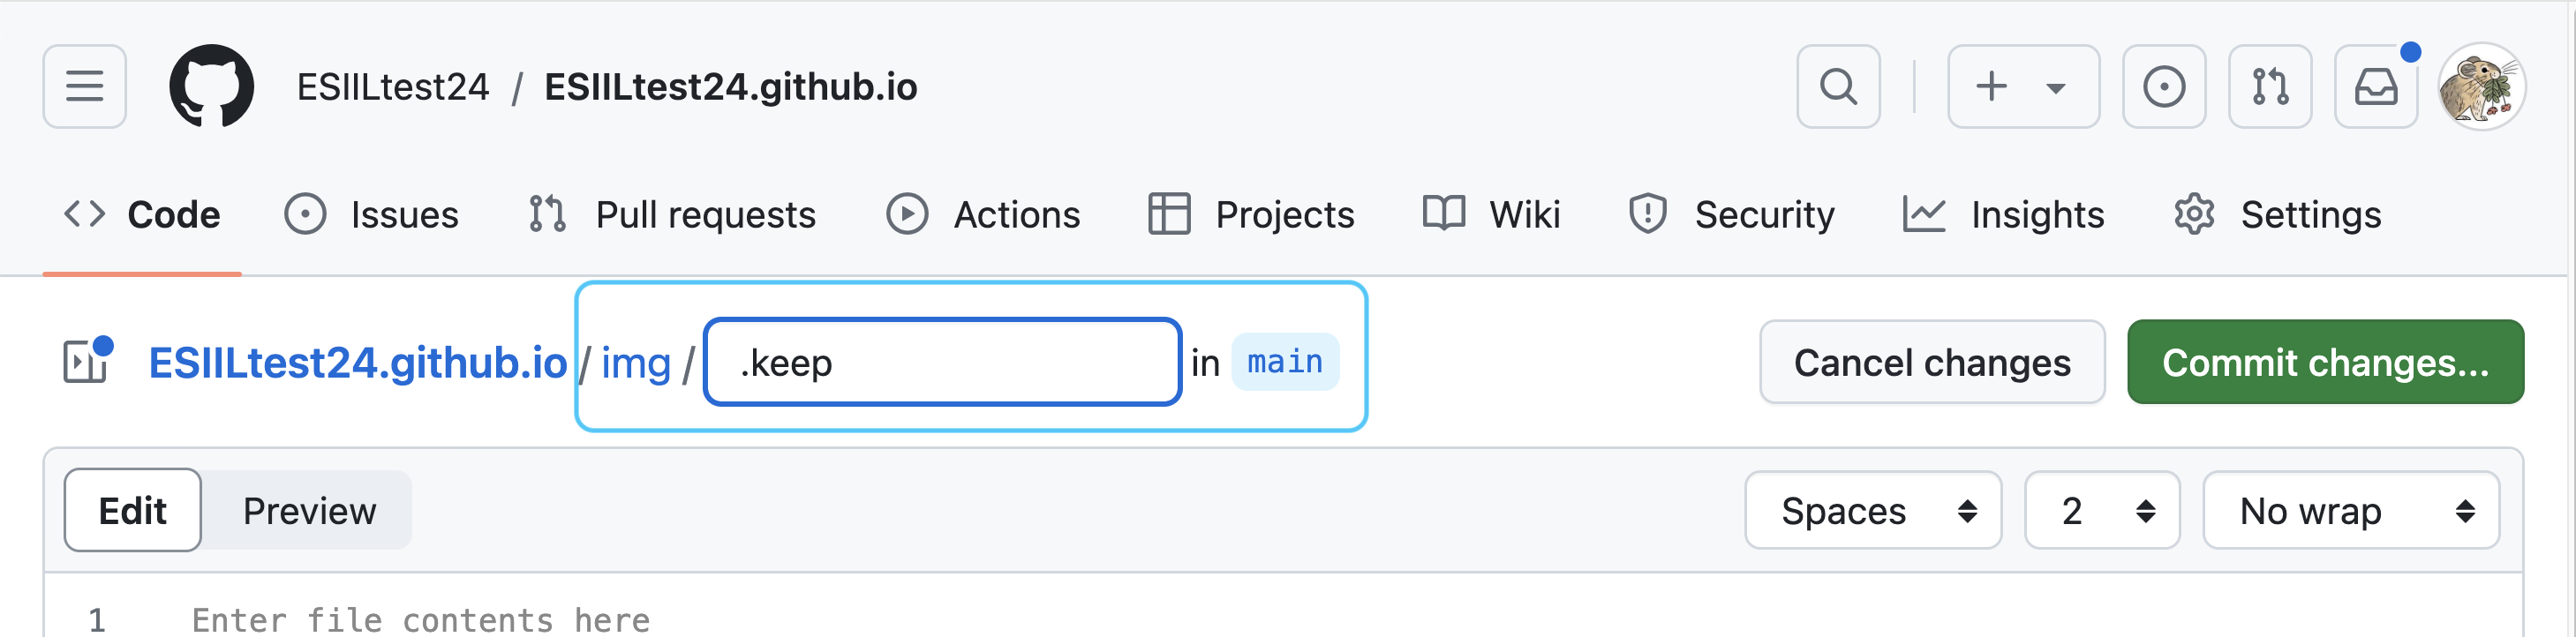
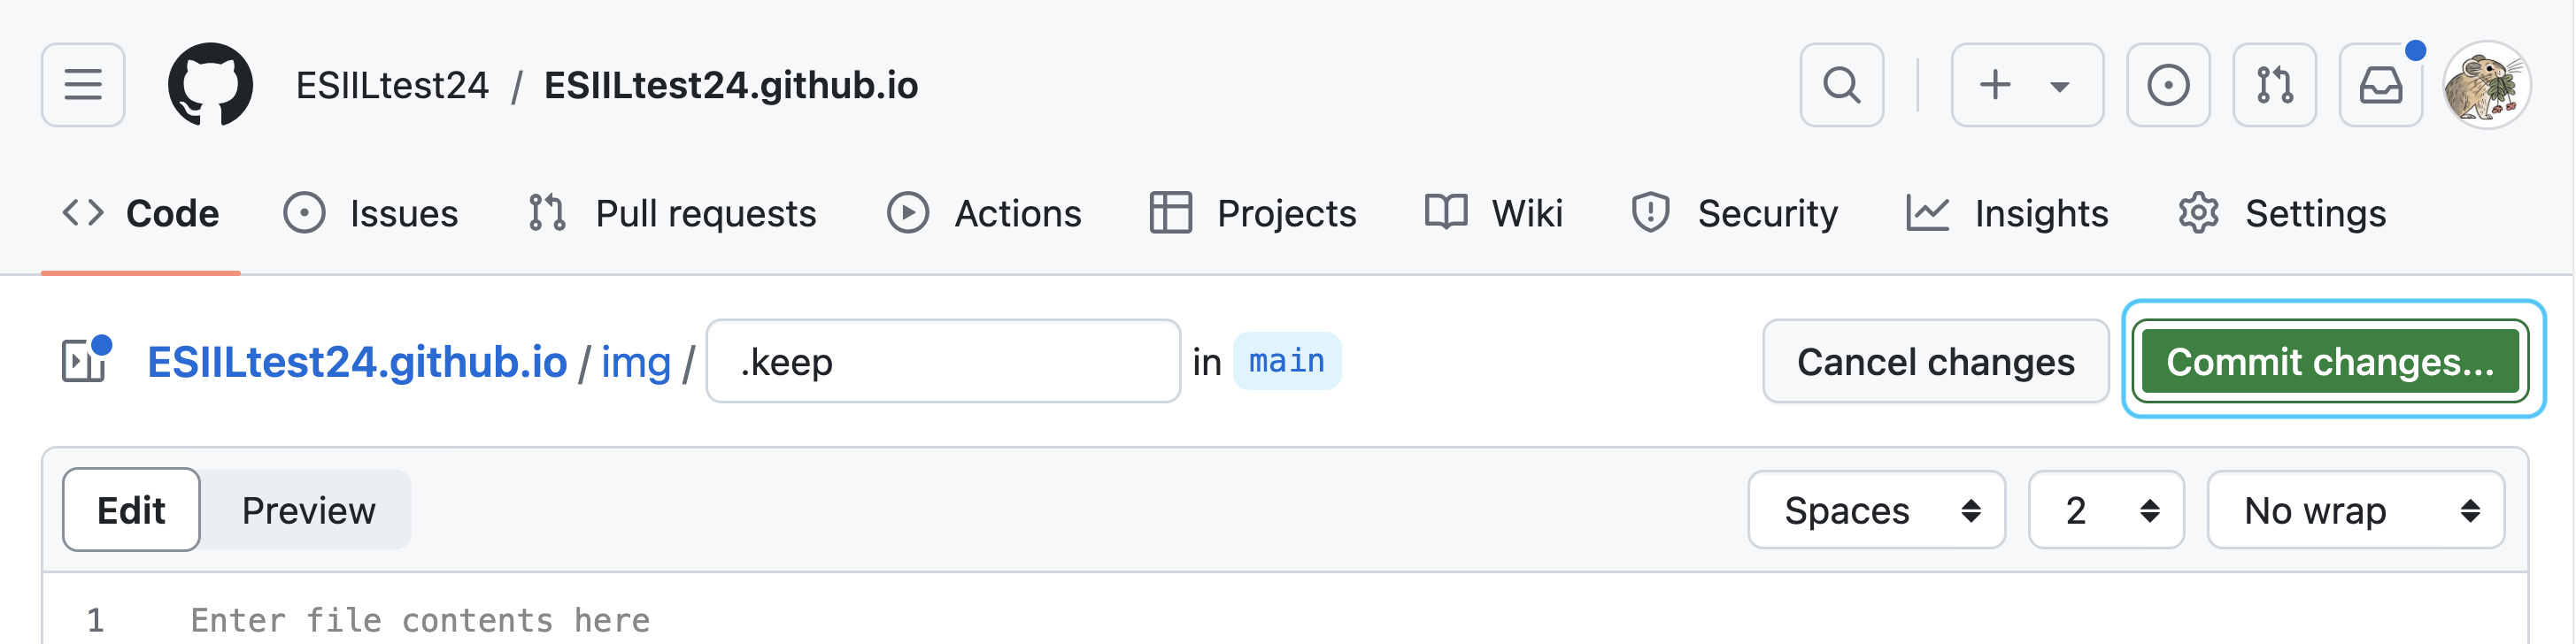
When you type img/, GitHub will automatically make a folder, so only .keep will be visible in the text box.
STEP 2: Upload your image to the img directory
First, make sure that the name of your image file on your computer is descriptive and machine-readable (doesn’t contain any spaces or special characters other than _, -, or .). You won’t be able to rename your file once you upload it to GitHub.
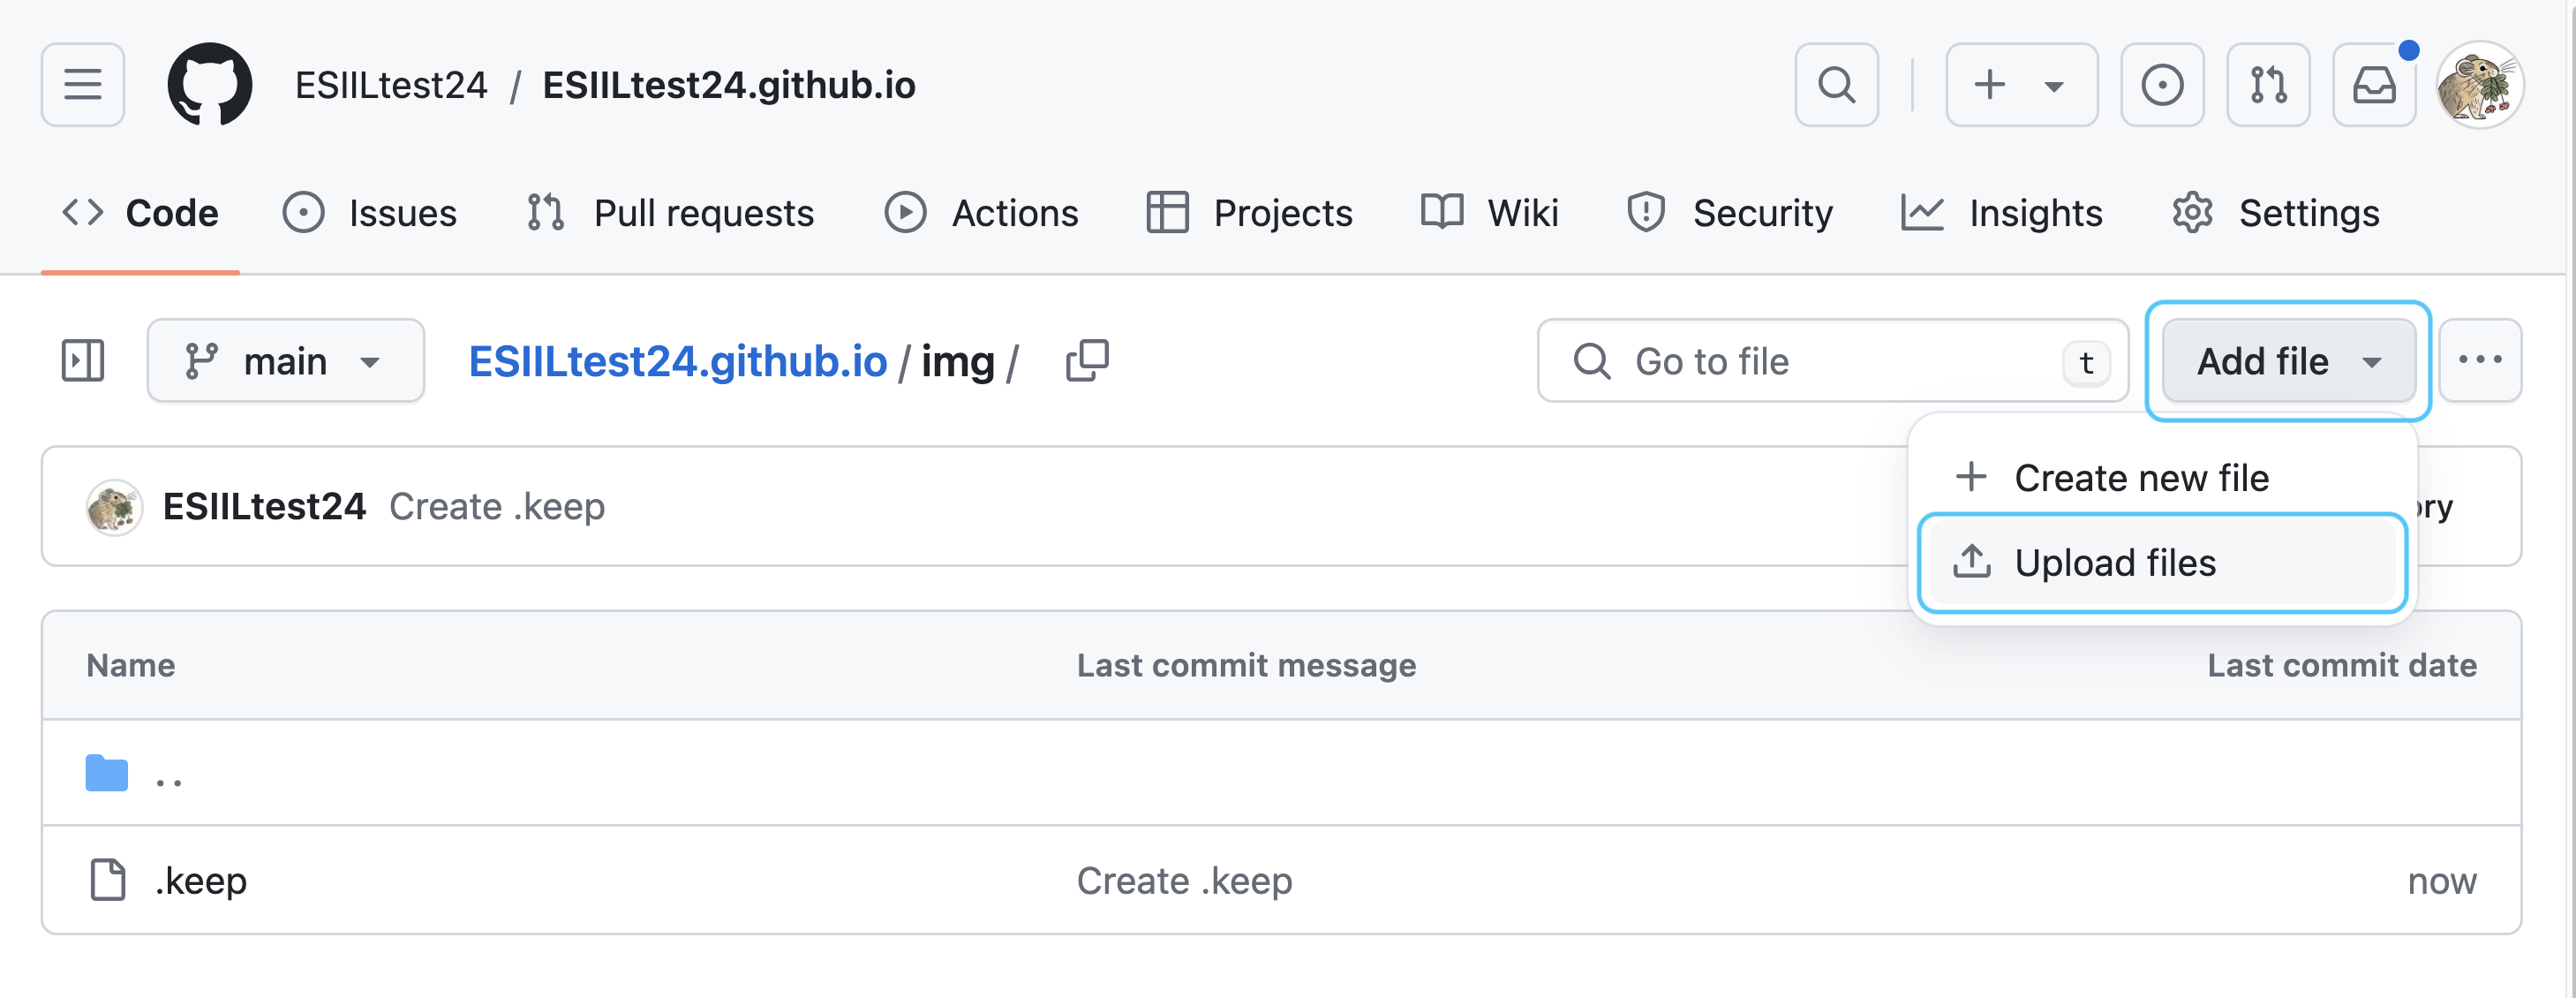
You should now be in the img directory in your repository. If note, you can get there from the Code tab in your website repository, by clicking on the img directory in the files. From there, click the Add file menu in the upper right, but this time select Upload files:
Drag your image file, or browse and select it.
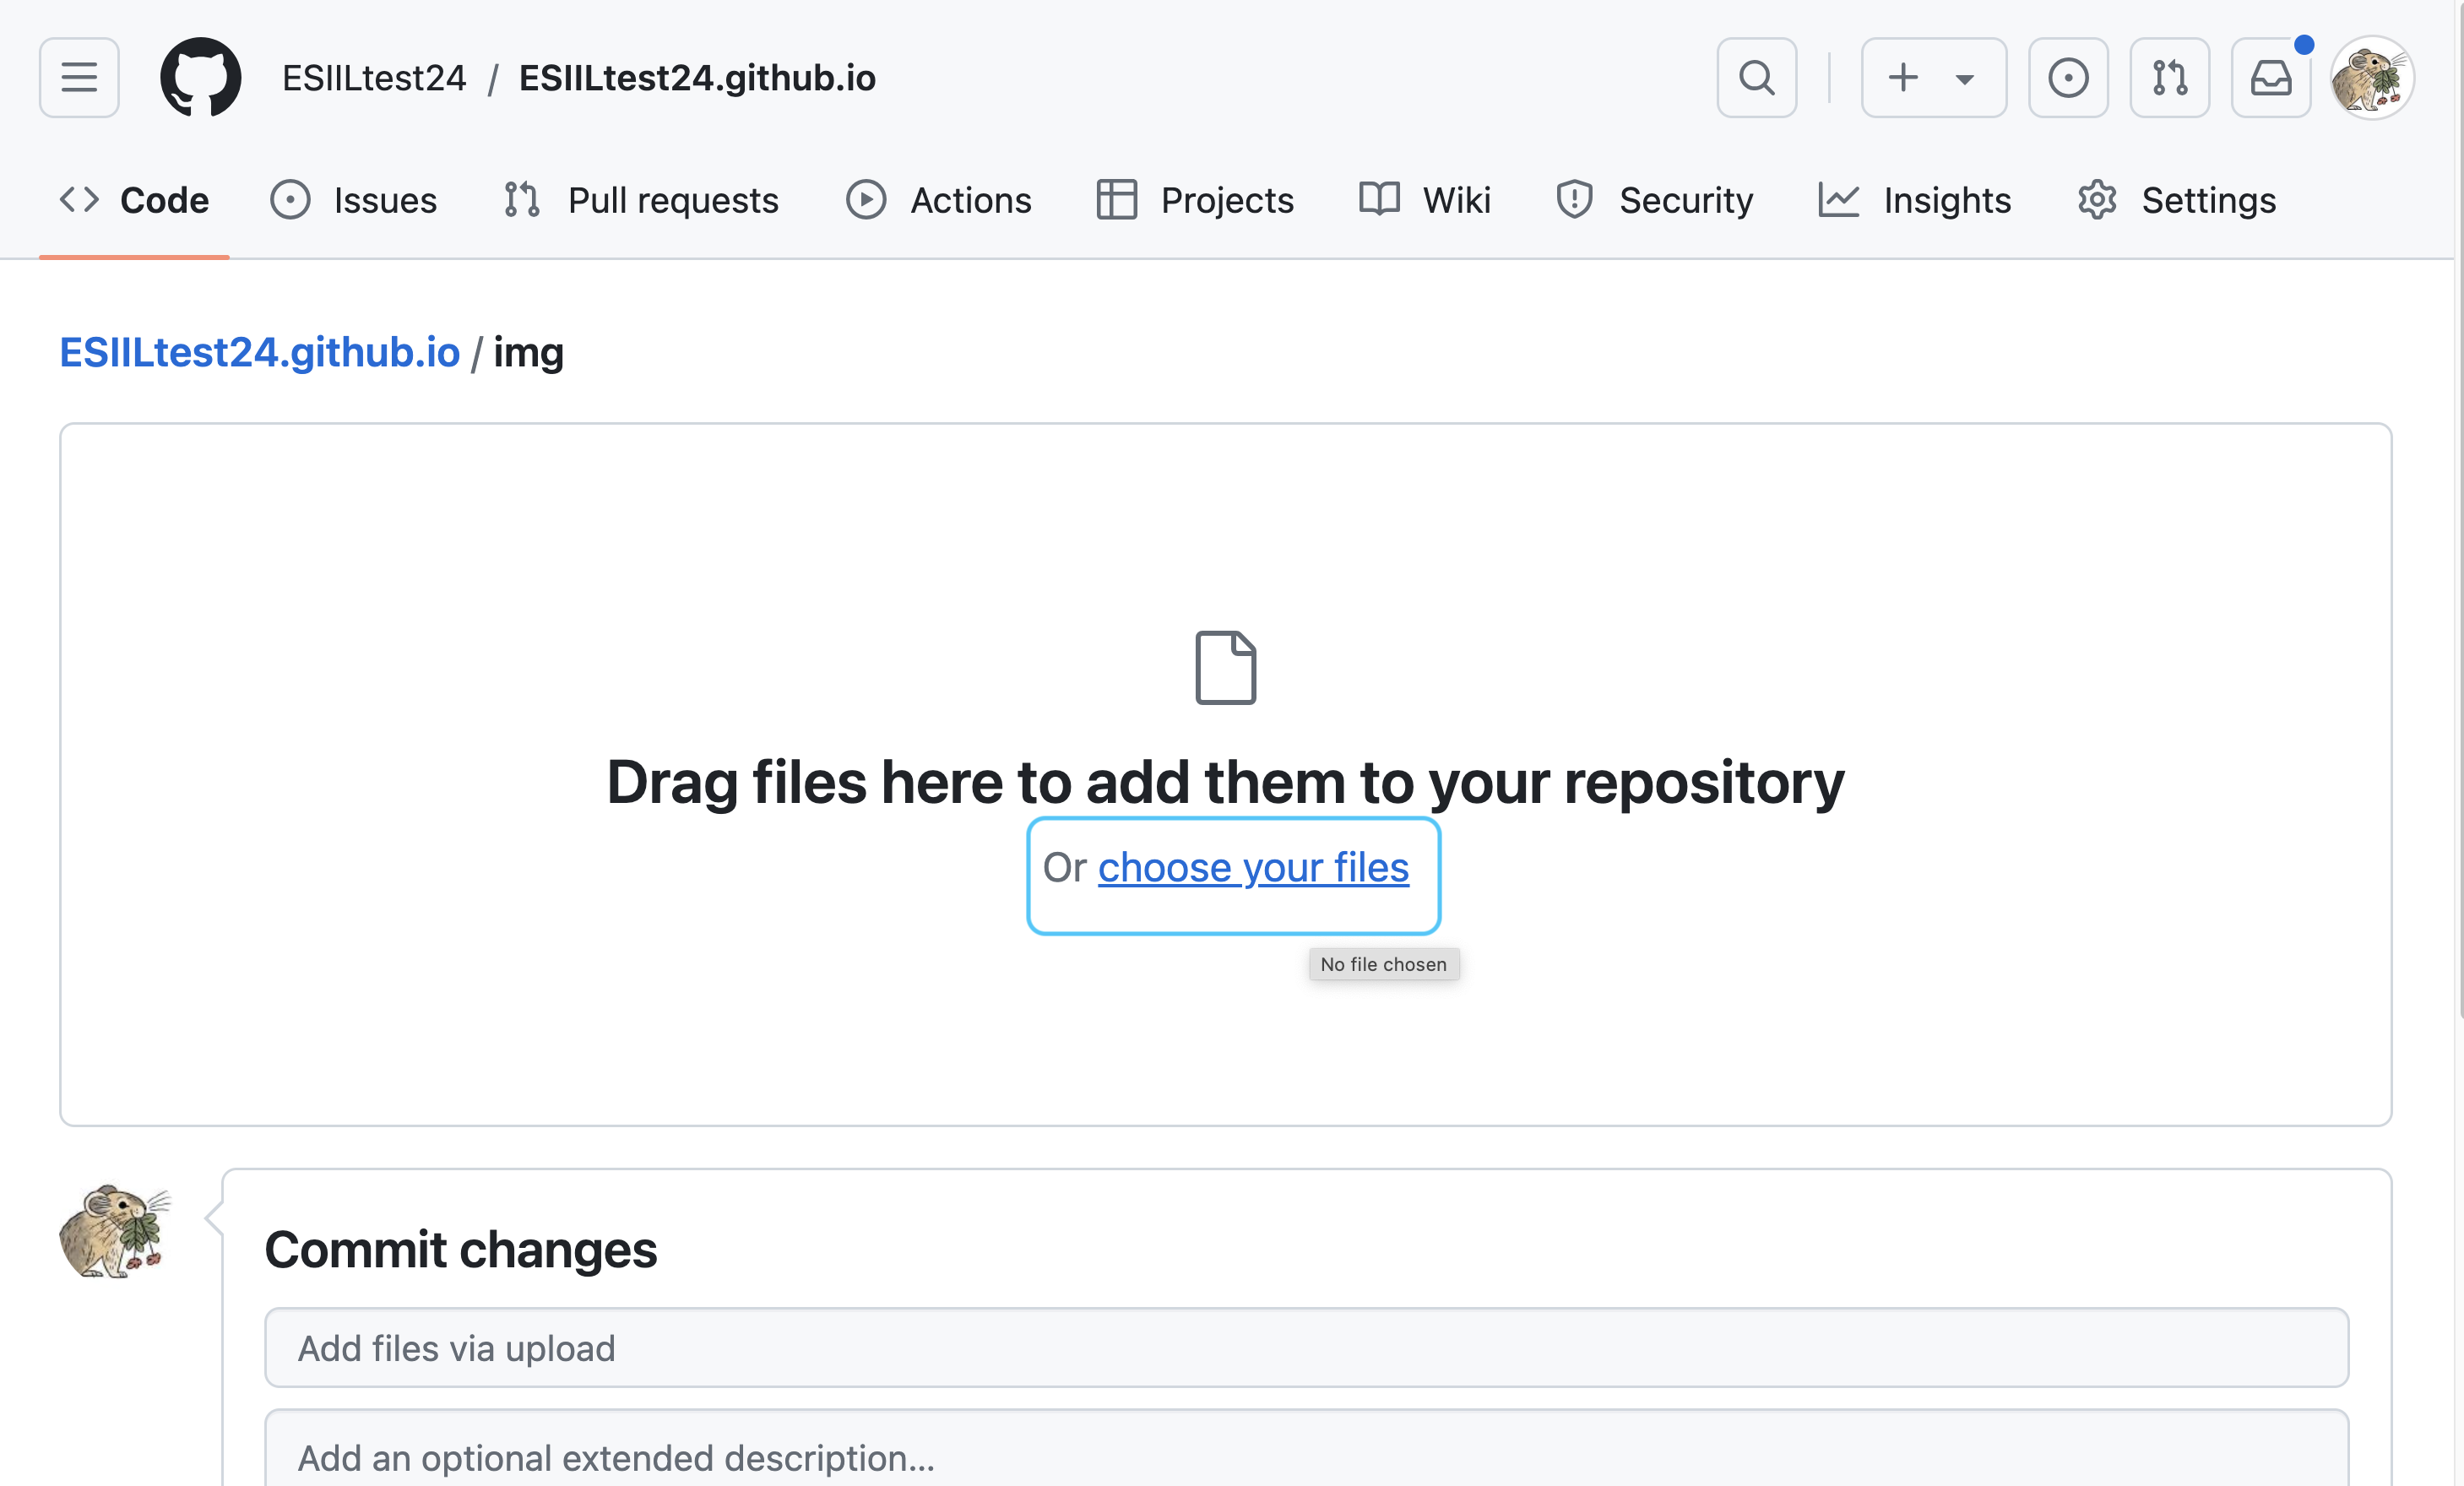
Finally, write a message and click Commit changes: 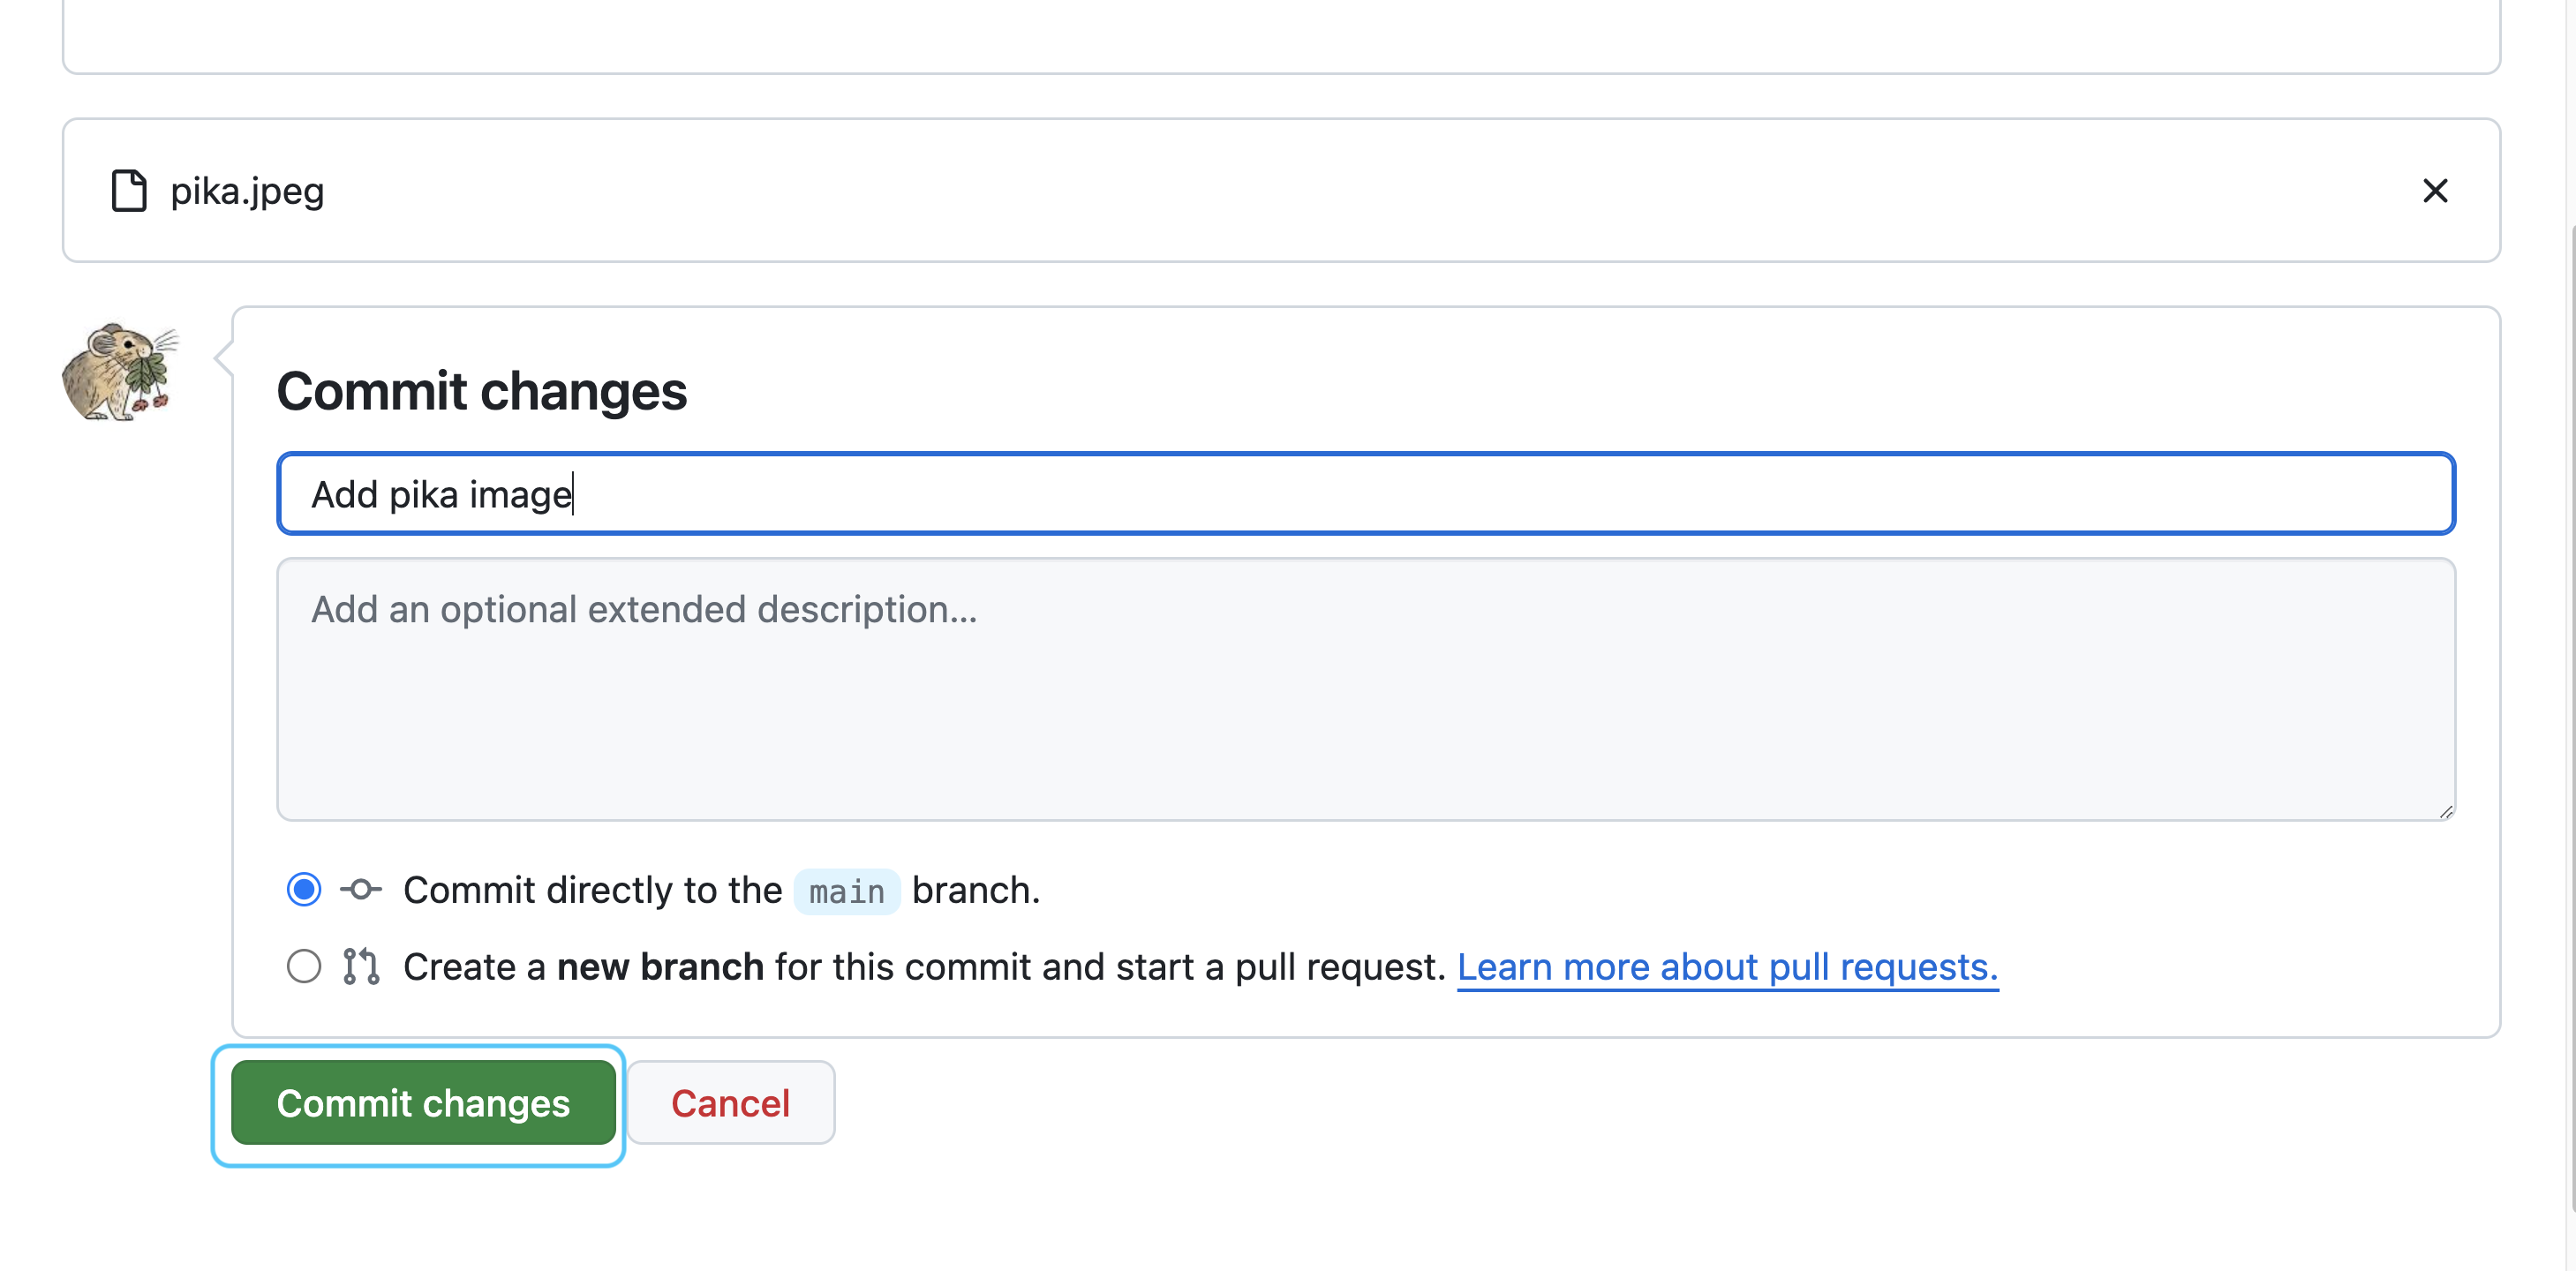
Other places to host images
GitHub has a couple of limitations when it comes to hosting images:
- The site will not allow you to upload files larger than 100MB
- If you make changes to an image file, GitHub will keep all the previous versions, which can make your repository unwieldy to download. If you are generating image files yourself and changing them frequently, consider hosting them somewhere else.
So, where can you host images that you have taken or generated? There are a few options:
- You can use the Free Image Hosting service to upload images without an account or giving up any information about yourself. Note that while you retain ownership of these images you are granting a license to Free Image Hosting to use them however they want.
- For a final version, you can use a research hosting service like figshare to upload images and get code to embed them in your website.
- If you want to use photos you have already uploaded to social media, you can usually get a direct link by right-clicking on the image and selecting
Copy Image Link. - You will likely find that most file storage services such as Google Drive and Dropbox don’t provide you with a direct link to images that you can use in a website. You can look for instructions on generating direct links for these files, but they are often unsupported and could change without warning.
- There’s another way of hosting on GitHub that doesn’t have the same drawbacks when it comes to large files. You can include files in a release, which creates a direct link to files, but does not attempt to track changes. To get started, follow the instructions from GitHub documentation. Note that once you have a release you can add additional files to it.
By uploading images to social media or other hosting services, you are sometimes giving up your rights to the image, or granting. Photo apps like Flickr are usually better bets, since they are built for photographers with copyright protection in mind. But be sure to read the fine print when uploading material that is sensitive to you personal or to your community – you can look for the term ownership rights in the Terms and Conditions of whatever sites you use.